Spring PC Cleaning Guide 2026: Dust, Temps, and Cooling Maintenance
Your complete spring cleaning guide for PC cooling systems — proper dust removal methods, why compressed inert gas is the standard, how rising ambient temps affect your hardware, and a full maintenance checklist for every cooling type.
Spring Is Here — Time to Clean Your PC
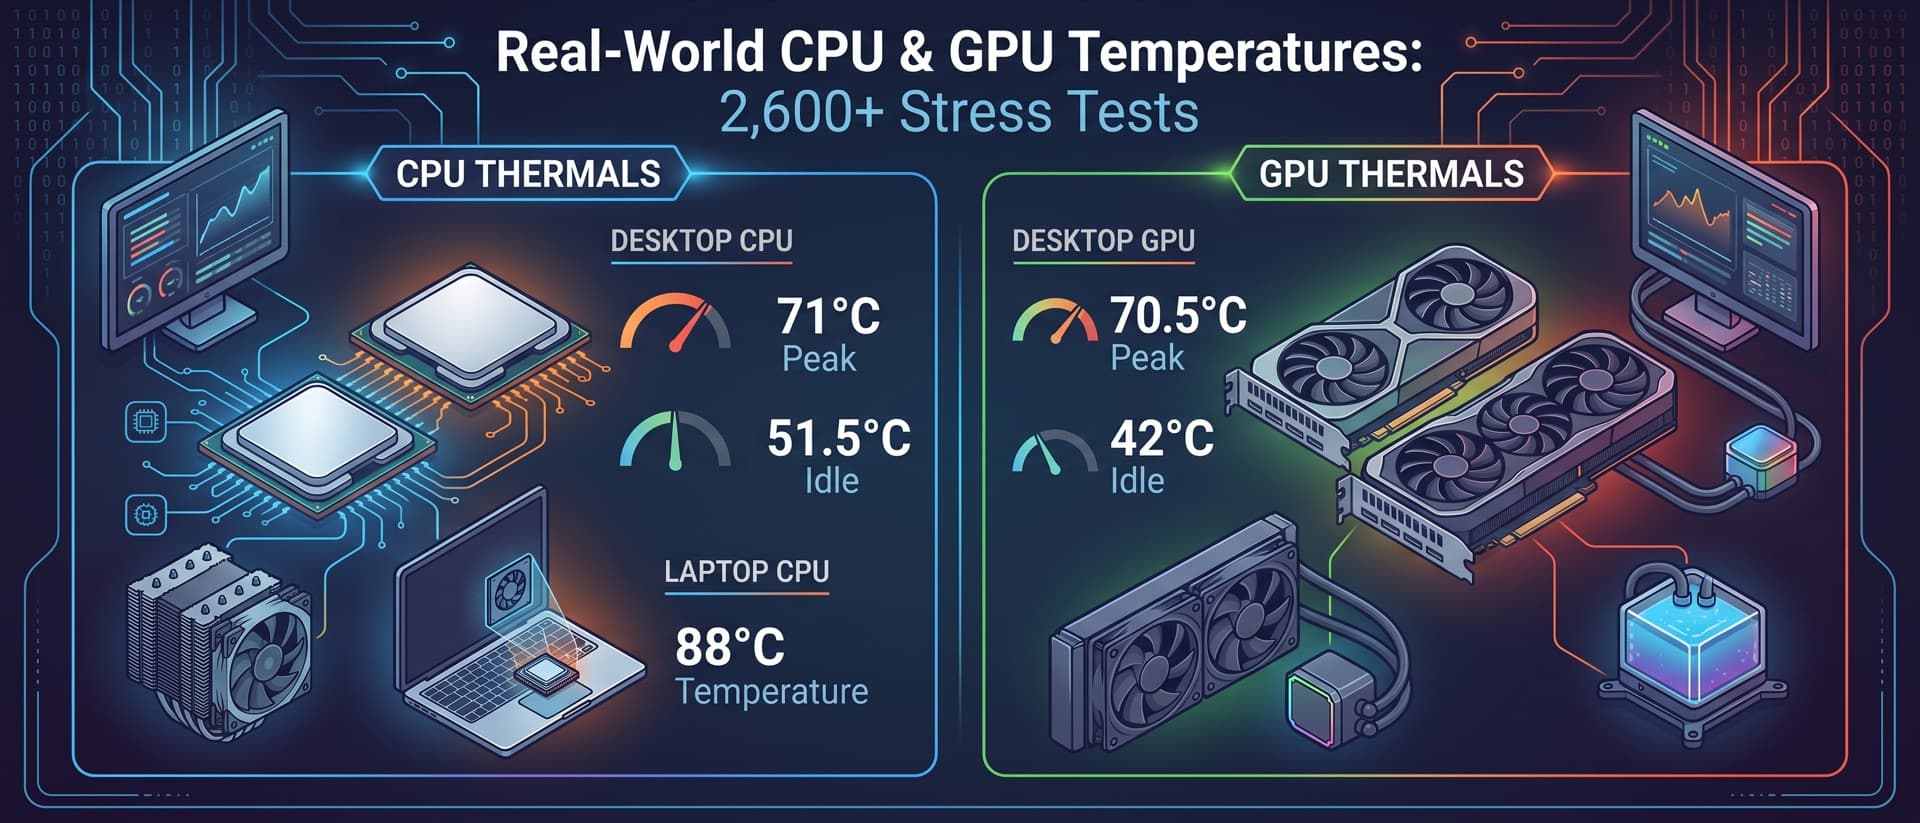
As temperatures climb outside, they climb inside your PC case too. That layer of dust your filters have been catching all winter? It's now working against you, insulating heatsinks, clogging fan blades, and quietly raising your CPU and GPU temperatures by 5-15°C compared to a clean system.
Spring is the perfect time for a thorough PC cleaning session. Before summer heat pushes your cooling system to its limits, let's make sure it's actually working at full capacity.
This guide covers the right way to clean every type of cooling system, why your choice of cleaning tool matters more than you think, and how ambient temperature changes affect your hardware as the seasons shift.
How Dust Actually Hurts Your Temperatures
Dust doesn't just look bad — it's a surprisingly effective thermal insulator. Here's what it does:
On heatsink fins
Dust accumulates between the thin aluminum or copper fins of your CPU cooler, GPU heatsink, and radiator. These fins are designed to maximize surface area for heat dissipation. When dust fills the gaps, it:
- Reduces airflow through the fin stack, forcing fans to spin faster
- Insulates the fins from the air passing over them, reducing heat transfer efficiency
- Creates turbulence that disrupts smooth, laminar airflow
A heavily dusted heatsink can lose 30-50% of its cooling efficiency. That $100 tower cooler performing like a $30 budget model? Dust.
On fan blades
Dust buildup on fan blades adds weight unevenly, causing:
- Reduced airflow — dusty blades move less air at the same RPM
- Increased noise — imbalanced blades vibrate more
- Bearing wear — the extra weight and vibration accelerate bearing degradation
On filters and mesh panels
Intake filters are designed to catch dust before it enters the case. But a clogged filter restricts airflow so severely that your case fans can't pull enough cool air in. The result: your internal components recirculate warm air instead of fresh, cool air from outside the case.
On VRMs and memory modules
These components often rely on passive cooling or incidental airflow from nearby fans. A dust blanket on VRM heatsinks or memory modules means they run hotter, which can cause throttling, instability, or reduced lifespan — especially during sustained workloads.
The Right Way to Remove Dust: Inert Gas
Why compressed inert gas is the standard
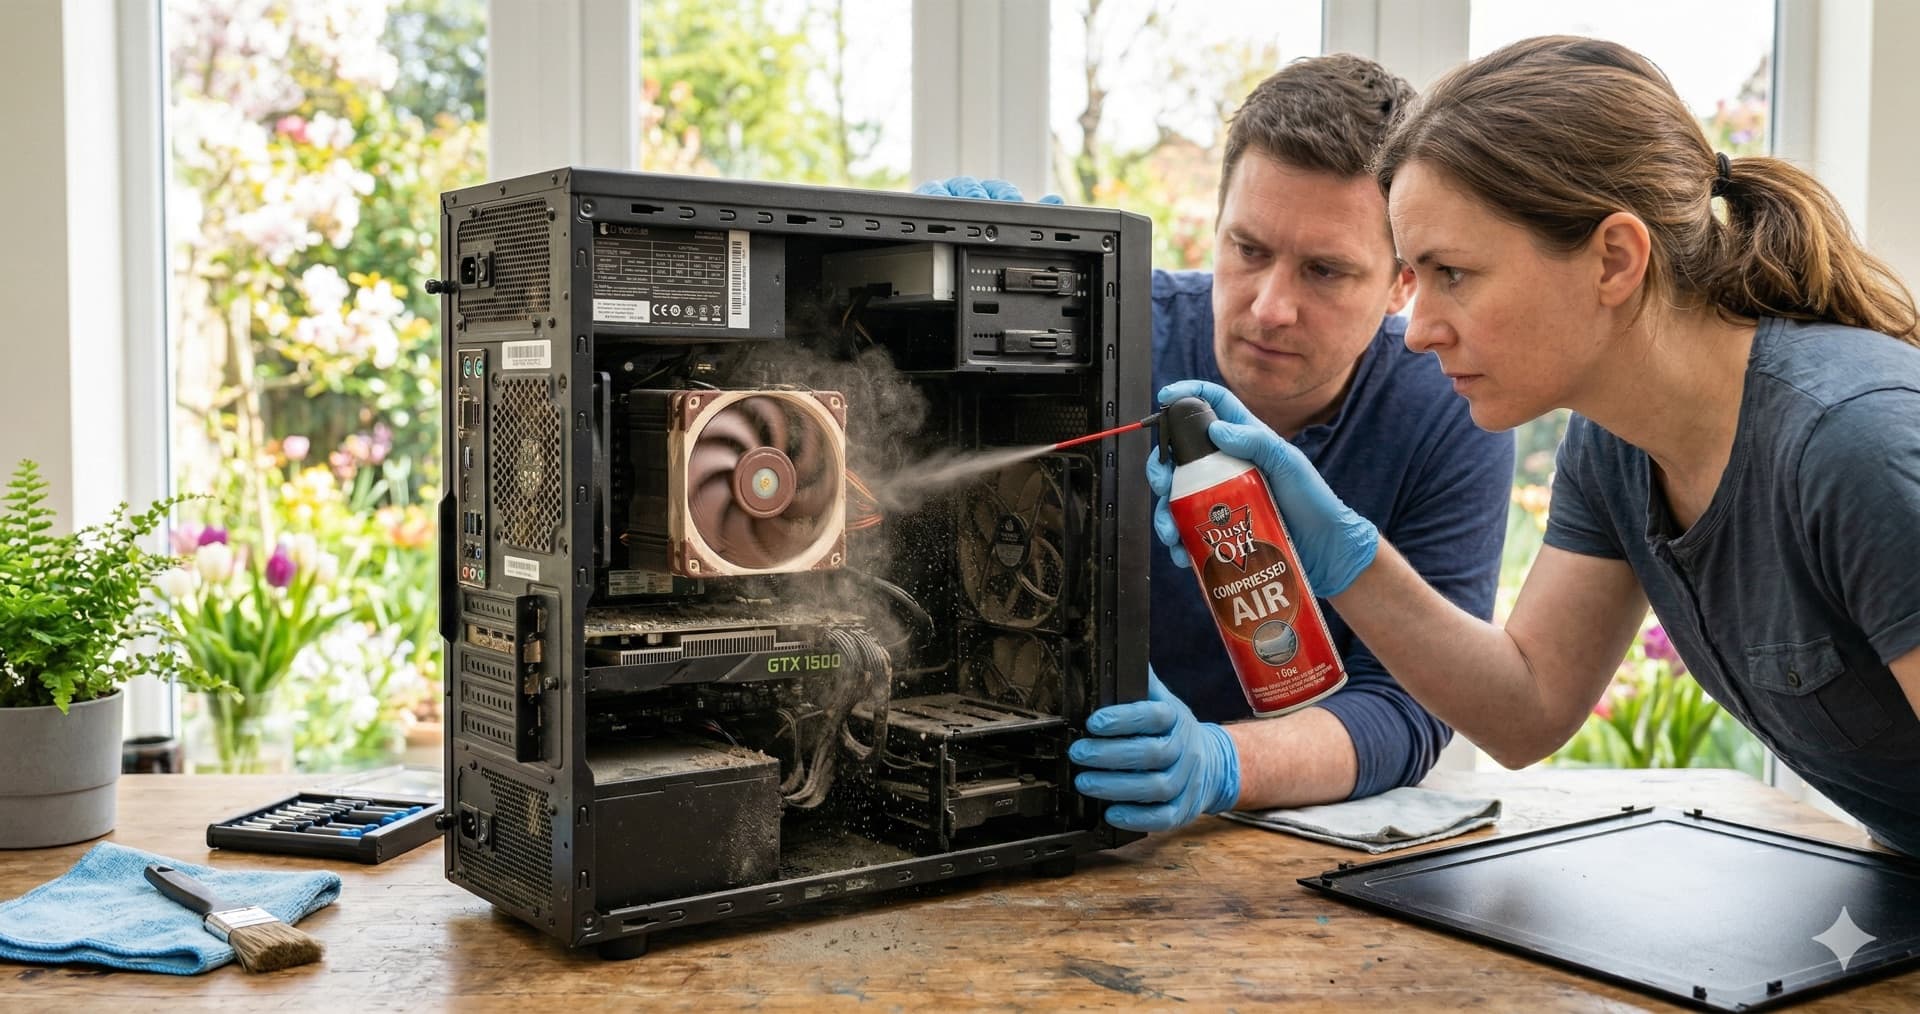
You've probably seen cans of "compressed air" at electronics stores. These are actually compressed inert gas — typically difluoroethane (HFC-134a) or tetrafluoroethane — not atmospheric air. This distinction matters:
- No moisture — Unlike a compressor that pulls in atmospheric air (which contains humidity), canned inert gas is completely dry. Moisture on electronics is an obvious problem
- No static — Inert gas doesn't generate static electricity during discharge. Blowing with your mouth or using a compressor without a moisture trap can create static that damages sensitive components
- Controlled pressure — Cans deliver consistent, moderate pressure. Too much pressure (like from an unregulated shop compressor) can damage delicate fin arrays or dislodge thermal pads
- No oil contamination — Air compressors can release fine oil mist. Inert gas cans are oil-free
How to use compressed gas properly
- Hold the can upright — Tilting the can too far can release liquid propellant, which is extremely cold and can damage components or leave residue
- Use short bursts — Don't hold the trigger continuously. Short, controlled bursts dislodge dust more effectively than a constant stream
- Hold fans in place — When blowing dust off fans, hold the blade with your finger to prevent them from spinning. A fan spun by compressed gas acts as a generator and can send voltage spikes back into your motherboard's fan headers
- Work from inside out — Blow dust from the center of the case toward the outside, working with your case's airflow direction, not against it
- Do it outdoors or in a well-ventilated area — The dust cloud is impressive, and you don't want to breathe it
Alternatives to canned gas
- Electric air blower / duster — Rechargeable blowers like the DataVac or XPOWER A-2 deliver stronger, sustained airflow without the recurring cost of cans. They're the top recommendation for regular cleaners. ~$60-80, pays for itself after 4-5 uses
- Soft-bristle brush — An anti-static brush (like a clean, soft paintbrush) works well for stubborn dust on heatsink fins and fan blades. Use it in combination with compressed gas
- Microfiber cloth — For flat surfaces, side panels, and exterior cleaning. Slightly dampened (with water only) for stubborn marks
What NOT to use
- A vacuum cleaner — Standard vacuums generate significant static electricity. They can literally shock and kill components. Only use ESD-safe electronics vacuums
- Your breath — Introduces moisture and is nowhere near enough pressure for heatsink fins
- A regular air compressor without a moisture filter — Will spray water vapor and potentially oil onto your components
- Paper towels or tissues — Leave fibers behind that can get into fans and bearings
Cleaning Guide by Cooling Type
Air coolers
Frequency: Every 3-6 months, or whenever you notice temperatures creeping up.
- Power down and unplug the PC. Wait 10 minutes for components to cool
- Remove side panels — both sides if possible, for better access
- Remove the fans from the heatsink (most clip on). Clean fan blades individually with compressed gas and a soft brush
- Blow through the heatsink fins with compressed gas. For tower coolers, blow through the fins perpendicular to the airflow direction to push dust out rather than deeper in
- Check the base contact — If you notice temperatures are significantly higher even after cleaning, the thermal paste may have dried. Consider reapplying thermal paste if it's been 2+ years
- Reinstall fans and verify they spin freely
AIO liquid coolers
Frequency: Every 3-6 months for the radiator and fans.
- Power down and unplug
- Clean the radiator — This is the critical part. Blow compressed gas through the radiator fins from both sides. Radiators trap dust deep in their fin stacks, and it's harder to reach than on an air cooler's heatsink
- Clean the radiator fans — Remove them from the radiator if accessible. Clean blades individually
- Check the pump block — Wipe down the cold plate area (the part that sits on the CPU). Don't disassemble the pump — it's a sealed unit
- Inspect tubing — Look for kinks, discoloration, or stiffening. If tubes are becoming rigid after 4-5 years, the AIO may be approaching end of life
- Listen to the pump — Unusual rattling, clicking, or grinding sounds indicate air in the loop or pump wear
Custom loop systems
Frequency: Radiator and fans every 3-6 months. Full loop maintenance annually.
Radiator and fan cleaning (same as AIO):
- Clean radiator fins with compressed gas
- Remove and clean fans individually
Annual loop maintenance:
- Drain the loop — Use the drain valve (you did install a drain valve, right?)
- Flush with distilled water — Run distilled water through the loop to remove any buildup. Repeat until water runs clear
- Inspect tubing — Check soft tubing for discoloration, plasticizer leaching (cloudy white deposits), or hardening. Replace if needed
- Inspect water blocks — If you notice higher-than-expected temperatures, remove the CPU/GPU blocks and check the micro-fin channels for buildup. Clean gently with a soft brush and distilled water
- Check O-rings on all fittings — Replace any that appear dry, cracked, or compressed
- Refill with fresh coolant — Use the same type (premixed or concentrate + distilled water). Don't mix different coolant brands
- Leak test before powering on — Just like during initial installation
Case fans and filters
Frequency: Filters monthly, fans every 3-6 months.
- Remove dust filters — Most modern cases have removable magnetic or slide-out filters. Wash them under running water and let them fully dry before reinstalling
- Clean intake fans — These collect the most dust. Remove and clean individually if possible
- Clean exhaust fans — Usually less dusty but still worth checking
- Wipe mesh panels — Use a damp microfiber cloth for fine mesh front or top panels
How Ambient Temperature Affects Your PC
This is the part many users overlook. Your PC's cooling system doesn't cool components to an absolute temperature — it cools them relative to the ambient air temperature. This has real consequences as seasons change.
The physics
Every cooler — air, AIO, or custom loop — has a thermal delta: the difference between the component temperature and the ambient air temperature. If your CPU runs at 75°C with 20°C ambient air, that's a 55°C delta.
That delta stays roughly constant regardless of ambient temperature. So when ambient rises:
| Ambient temp | CPU delta | CPU temp | Change |
|---|---|---|---|
| 18°C (winter) | 55°C | 73°C | — |
| 22°C (spring) | 55°C | 77°C | +4°C |
| 28°C (summer) | 55°C | 83°C | +10°C |
| 32°C (heat wave) | 55°C | 87°C | +14°C |
A 14°C increase from winter to a summer heat wave is the difference between a component running comfortably and one that's thermal throttling.
Why spring cleaning matters NOW
During winter, cooler ambient temperatures mask degraded cooling performance. Your dusty heatsink might add 8°C to your temperatures, but with 18°C ambient air, you're at 81°C under load — warm but manageable.
Come summer at 30°C ambient, that same dusty heatsink puts you at 93°C — dangerously close to (or past) thermal throttling thresholds for most CPUs (95-100°C). Spring is your window to clean and restore cooling performance before summer heat reveals every weakness.
Room cooling tips for PC users
- AC or fans — If you have air conditioning, maintaining 22-24°C ambient makes a measurable difference. Even a desk fan improving airflow around the PC helps
- PC placement — Don't place your PC in a corner, in a closed desk cabinet, or against a wall that blocks the exhaust. Give it 10-15cm of clearance on all vented sides
- Direct sunlight — A PC sitting in direct sunlight through a window can experience significantly higher ambient temperatures around the case, even in an air-conditioned room
- Carpet — If your PC sits on carpet, the bottom intake (PSU and sometimes case fans) is partially blocked and pulling in carpet fibers. Use a small board or platform to elevate it
The Added Stress of Rising Temperatures
Higher ambient temperatures don't just raise component temps — they increase stress on every part of your cooling system:
Fans work harder
As temperatures rise, fan curves ramp up to compensate. Fans spinning at higher RPMs continuously experience:
- Faster bearing wear — Shortening overall fan lifespan
- More noise — The system gets louder during summer months
- Higher power consumption — Marginally, but it adds up across multiple fans
Thermal paste degrades faster
Thermal paste between your cooler and CPU/GPU is affected by thermal cycling — the constant heating and cooling as you use and shut down your PC. Higher peak temperatures accelerate this degradation, causing paste to dry out, crack, and lose conductivity faster. If your thermal paste is 2-3 years old heading into summer, consider replacing it during your spring cleaning.
Liquid cooling is affected too
For AIO and custom loop users:
- Higher coolant temperatures reduce the temperature differential between the coolant and the water block, slightly reducing cooling efficiency
- Pumps working harder in warmer conditions may have a marginally shorter lifespan
- Coolant degradation accelerates slightly at higher temperatures
Your Spring Cleaning Checklist
Here's the complete checklist. Print it, bookmark it, or just work through it top to bottom:
Power down and preparation:
- Shut down and unplug the PC
- Ground yourself (touch the metal case or use an anti-static wrist strap)
- Move to a well-ventilated area or outdoors
- Gather: compressed gas / electric duster, soft brush, microfiber cloth, screwdriver
Dust filters:
- Remove all intake dust filters
- Wash under water, set aside to dry completely
Fans:
- Clean all case fans (intake and exhaust)
- Clean CPU cooler fan(s)
- Clean GPU fans (if accessible without disassembly)
- Verify all fans spin freely after cleaning
Heatsinks and radiators:
- Blow dust from CPU heatsink/radiator fins
- Blow dust from GPU heatsink fins (from the back side)
- Check that no fins are bent or damaged
Interior:
- Blow dust from the motherboard surface, especially around VRM heatsinks
- Clean PSU intake area and filter (if equipped)
- Blow out any dust from PCIe slots and RAM slots
- Wipe down cable management areas and SSD/HDD mounts
Reassembly and verification:
- Reinstall cleaned, dry dust filters
- Reinstall all panels
- Power on and verify all fans are spinning
- Run a thermal test on ThermalStats to baseline your clean system
Measure the Difference
Here's the satisfying part: measure your before and after.
- Before cleaning: Run a thermal test with your system as-is. Record scores
- After cleaning: Run the same test and compare
You might be surprised at the difference. We regularly see users report 5-12°C drops after a thorough cleaning — and that's in spring ambient temperatures. The improvement is even more pronounced in summer.
Your ThermalStats data also becomes a useful reference point. If temperatures start creeping up again over the following months, you know it's time for another cleaning session rather than worrying about hardware failure.
The Bottom Line
PC cleaning isn't glamorous, but it's the single most impactful maintenance task you can do for your system's longevity and performance. A 30-minute spring cleaning session can:
- Drop temperatures by 5-15°C
- Reduce fan noise noticeably
- Extend component lifespan
- Prevent summer thermal throttling
- Save you from unnecessary upgrades
Your cooling system can only work as well as the air flowing through it allows. Give it clean filters, dust-free fins, and clear airflow paths, and it'll reward you with quiet, efficient operation all summer long.
Want to see how your system performs after a spring clean? Run a thermal test and compare your before and after results.
Be the First to Know
We're launching the ThermalStats newsletter soon — thermal tips, cooling guides, and data insights straight to your inbox. Sign up now to be first in line.
No spam, ever. Unsubscribe anytime.