Undervolting Your CPU & GPU: Lower Temps, Same Performance, No Downsides?
A practical guide to undervolting your CPU and GPU — how it works, the real thermal benefits, the risks most guides skip over, and whether it's actually worth the effort in 2026.
The Promise of Free Thermal Headroom
If you spend any time in PC enthusiast communities, you've seen the advice: "Just undervolt it." Someone posts about their GPU hitting 85°C under load? Undervolt. CPU thermal throttling? Undervolt. Laptop running hot? Undervolt. The claim is always the same — lower temperatures, identical performance, zero downsides.
It sounds almost too good to be true. And while undervolting is one of the most effective thermal optimization techniques available, the reality is more nuanced than the hype suggests. In this guide, we'll cover exactly what undervolting does, walk through how to do it on both CPUs and GPUs, examine the real thermal benefits with realistic numbers, and — critically — dig into the risks and limitations that most guides gloss over.
What Is Undervolting?
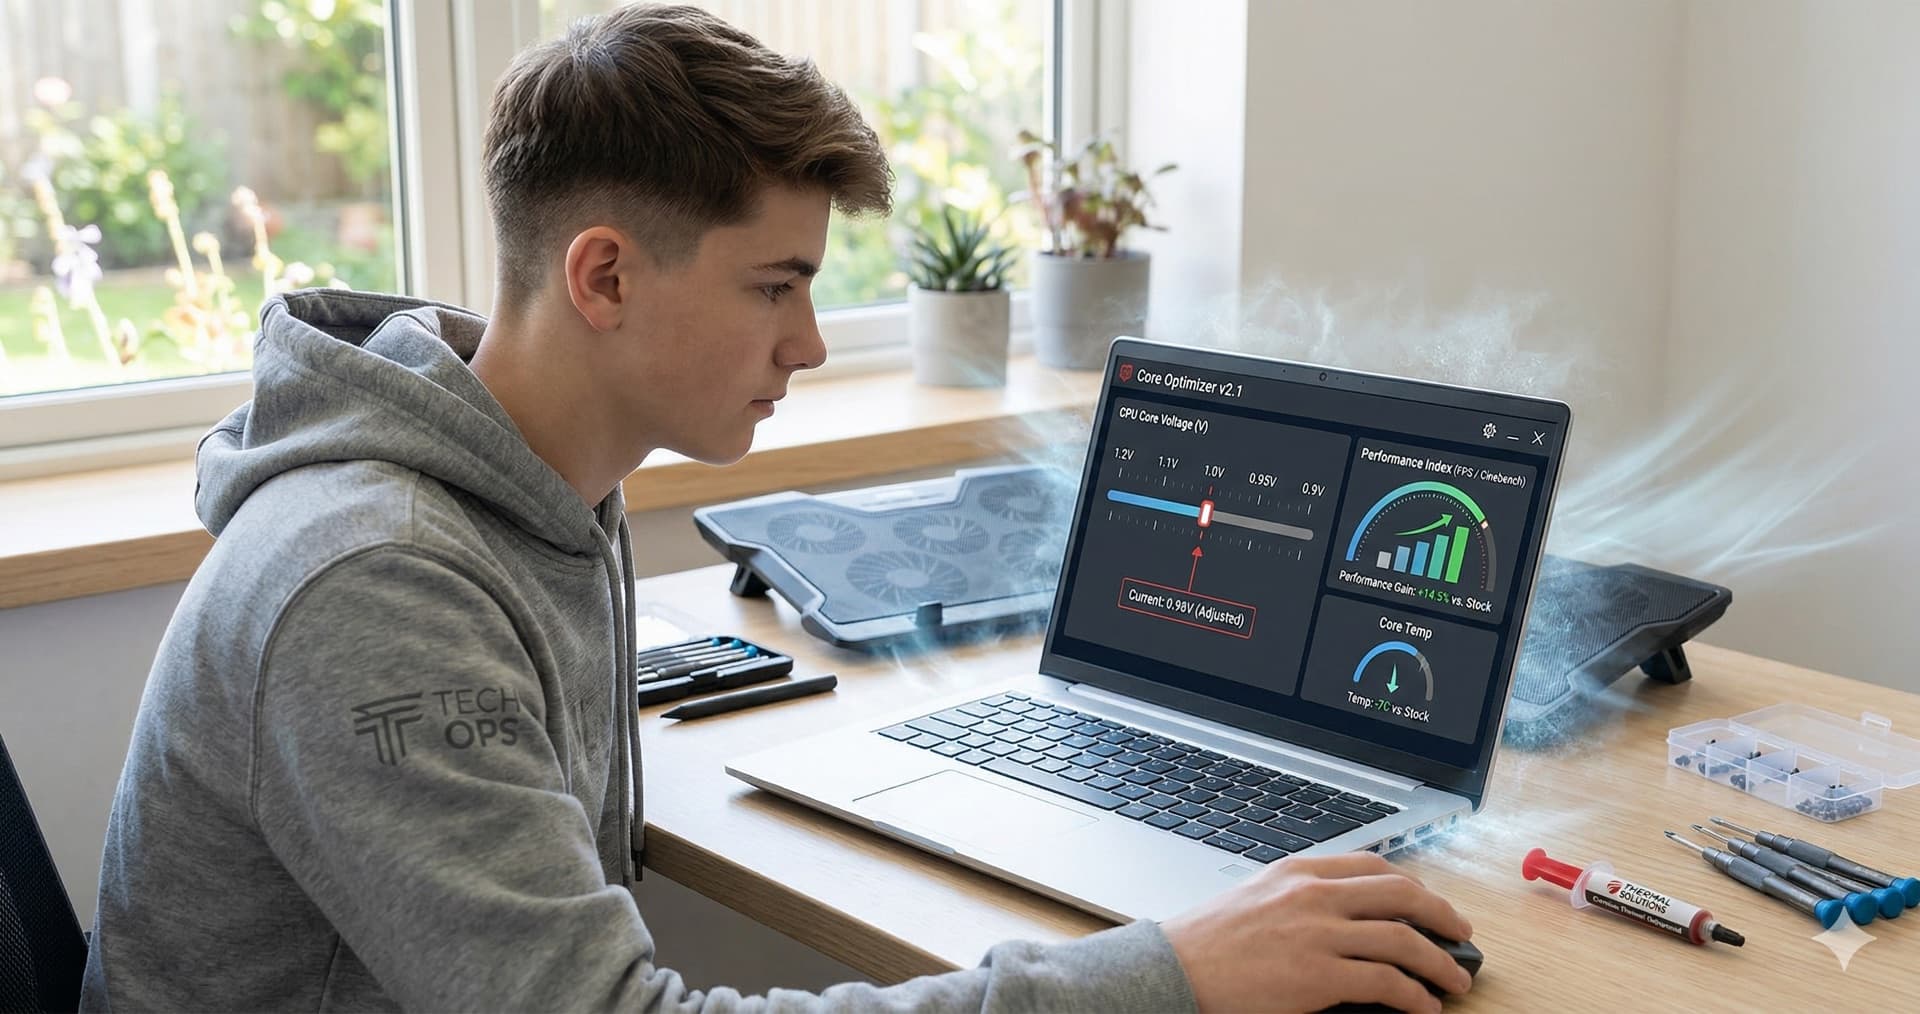
Every processor (CPU or GPU) needs a certain voltage to operate at a given clock speed. Manufacturers ship their chips with voltage set higher than most individual chips actually need — this is done to guarantee stability across millions of units with varying silicon quality. Your specific chip might run perfectly stable at a lower voltage than what it was given from the factory.
Undervolting is the process of reducing that voltage while keeping the same clock speed. Less voltage means less power consumed, which means less heat generated. The relationship isn't linear — it's actually better than that. Power consumption scales with the square of voltage:
$$P \propto V^2 \times f$$
So a modest 10% voltage reduction doesn't just cut power by 10% — it cuts it by roughly 19%. That's a meaningful amount of heat that simply doesn't get generated in the first place.
Undervolting vs. Underclocking vs. Overclocking
These terms get confused constantly, so let's be precise:
| Technique | Voltage | Clock Speed | Performance | Temps |
|---|---|---|---|---|
| Undervolting | ↓ Lower | Same | Same | ↓ Lower |
| Underclocking | ↓ Lower | ↓ Lower | ↓ Worse | ↓↓ Much lower |
| Overclocking | ↑ Higher | ↑ Higher | ↑ Better | ↑↑ Much higher |
Undervolting is the only technique that improves thermals without sacrificing performance — which is exactly why it's so popular. Underclocking also reduces heat, but you're trading performance to get there. Overclocking does the opposite: more performance at the cost of significantly more heat.
How to Undervolt Your CPU
The process differs significantly between Intel and AMD, and between desktop and laptop platforms.
Intel Desktop CPUs (12th–15th Gen)
Intel makes undervolting relatively straightforward on unlocked (K-series) processors:
Method 1: BIOS/UEFI (Recommended)
- Enter your BIOS (usually Delete or F2 at boot)
- Navigate to the overclocking or voltage settings section
- Look for "CPU Core Voltage Offset" or "VCore Offset"
- Set a negative offset — start with -50mV (displayed as -0.050V)
- Save and boot into your OS
- Run a stress test (Prime95 Small FFTs, Cinebench R24 loop, or OCCT) for 30+ minutes
- If stable, go back and lower by another -10mV to -20mV
- Repeat until you find the lowest stable voltage
Method 2: Intel XTU (Windows)
- Download Intel Extreme Tuning Utility
- Adjust the Core Voltage Offset slider
- Changes apply immediately — no reboot needed for testing
- Once stable, apply the same value in your BIOS for persistence
Typical results on Intel desktop CPUs:
- Most chips handle -50mV to -100mV without issues
- Lucky silicon can manage -100mV to -150mV
- Temperature drop: 5–15°C under full load depending on the offset
AMD Desktop CPUs (Ryzen 5000–9000)
AMD's approach is different. Ryzen processors use Precision Boost algorithms that already manage voltage aggressively.
Method: Curve Optimizer (in BIOS)
- Enter BIOS → AMD Overclocking → Curve Optimizer
- Set to "All Cores" for a starting point (per-core is more advanced)
- Apply a negative offset of 10–20 counts to start
- Boot and stress test thoroughly
- Gradually increase the negative offset
Method: AMD Ryzen Master (Windows)
- Allows per-core curve optimizer tuning
- Useful for testing without rebooting repeatedly
Important AMD caveat: Ryzen's Precision Boost Overdrive (PBO) already adjusts voltage dynamically. Aggressive undervolting can actually hurt boost behavior on Ryzen because the chip may interpret lower voltage as a signal to limit clock speeds. The sweet spot is typically more conservative than Intel: -15 to -30 counts on Curve Optimizer.
Laptop CPUs (Intel and AMD)
Laptop undervolting has become significantly more restricted in recent years:
- Intel 10th gen and older: ThrottleStop works well for undervolting. Apply a negative offset to CPU Core and CPU Cache.
- Intel 11th gen+: Many laptop OEMs lock undervolting in the BIOS via Overclocking Lock (OC Lock). If it's locked, software tools can't override it. Some manufacturers (Lenovo, Dell, some ASUS models) provide unlocking options in BIOS or via support tools.
- AMD Ryzen laptops: Undervolting is generally not accessible to end users. AMD's mobile platform doesn't expose the same voltage controls. Some third-party tools claim to offer it, but reliability and safety vary.
Laptop users: Before attempting to undervolt, check your exact model on forums like NotebookReview or r/laptops. Some models have undervolting locked at the firmware level with no workaround.
How to Undervolt Your GPU
GPU undervolting is, in many ways, more rewarding than CPU undervolting. GPUs consume significantly more power, run hotter, and respond very well to voltage adjustments.
NVIDIA GPUs (RTX 30/40/50 Series)
The standard tool is MSI Afterburner with its voltage/frequency curve editor:
- Open MSI Afterburner and press Ctrl+F to open the V/F curve editor
- You'll see a curve mapping voltage points (X-axis) to clock speeds (Y-axis)
- Find your target clock speed — for example, if your card boosts to 2100 MHz at 1.050V, you might target 2100 MHz at 0.900V
- Click the point at 0.900V and drag it up to 2100 MHz
- Click on any point to the right of your target and press the down arrow to flatten the curve — this prevents the GPU from using higher voltages
- Press Apply (the checkmark)
- Stress test with FurMark, 3DMark TimeSpy, or just play a demanding game for an hour
Typical results on NVIDIA desktop GPUs:
- Most RTX 40-series cards can run their full boost clock at 0.850V–0.950V instead of the stock 1.050V+
- Temperature drops of 8–15°C are common
- Fan noise reduction is often dramatic — sometimes going from audible to near-silent
- Power consumption drops by 30–80W depending on the card
RTX 50-series note: Early reports suggest the RTX 5070 Ti and higher respond very well to undervolting due to being power-limited from the factory. The 5090 in particular can see 50–80W power savings with virtually identical gaming performance.
AMD GPUs (RX 7000/8000 Series)
AMD provides undervolting controls directly in their driver software:
- Open AMD Software: Adrenalin Edition
- Go to Performance → Tuning
- Enable Custom Tuning
- Lower the Voltage (mV) slider while keeping the Max Frequency the same
- You can also use Undervolt GPU preset for a conservative automatic adjustment
- Apply and test for stability
AMD GPUs are particularly receptive to undervolting — the efficiency gains on RDNA 3 and RDNA 4 architectures are excellent.
Laptop GPUs
Most laptop GPU undervolting is done through MSI Afterburner using the same V/F curve method as desktop. However:
- Maximum boost clocks are lower on laptop GPUs, so the voltage range is smaller
- Some laptop OEMs lock voltage controls — Afterburner may show the curve but refuse to apply changes
- The thermal benefit is especially impactful on laptops because of constrained cooling solutions
Real-World Thermal Benefits
Let's talk real numbers. Here's what you can realistically expect from a well-tuned undervolt:
Desktop Systems
| Component | Stock Temps | After Undervolt | Reduction |
|---|---|---|---|
| Intel i7-14700K (240mm AIO) | 78°C gaming / 95°C all-core | 68°C / 82°C | 10–13°C |
| AMD Ryzen 7 7800X3D (tower air) | 82°C gaming / 89°C stress | 76°C / 83°C | 6°C |
| RTX 4070 Ti Super | 74°C gaming | 62°C gaming | 12°C |
| RTX 4090 FE | 78°C gaming | 65°C gaming | 13°C |
| RX 7900 XTX | 85°C junction / 72°C edge | 74°C / 64°C | 8–11°C |
Laptop Systems
| Component | Stock Temps | After Undervolt | Reduction |
|---|---|---|---|
| i9-13900HX (gaming load) | 95°C (throttling) | 85°C | 10°C |
| RTX 4060 Laptop (gaming) | 83°C | 72°C | 11°C |
| RTX 4070 Laptop (gaming) | 80°C | 69°C | 11°C |
Sanity check your own results: After undervolting, run a stress test with our CLI tool to measure your peak temperatures and compare against other users with the same hardware. If your undervolted temps are in the lower percentile range, you've done well.
The Risks Nobody Talks About
Here's where we need to be honest. The "no downsides" claim in every undervolting guide isn't entirely accurate. There are real risks and limitations:
1. Instability Can Be Subtle
The most dangerous aspect of undervolting isn't a dramatic crash — it's subtle instability that's hard to detect:
- Occasional application crashes that seem random and unrelated to the undervolt
- Rare BSODs under specific workloads you don't test regularly
- Data corruption in file operations or database writes during voltage-starved moments
- Game-specific crashes — passing a stress test doesn't guarantee stability in every workload
A chip might be perfectly stable in Cinebench but crash in a specific game because that game exercises a different instruction mix. Prime95 Small FFTs might pass, but Large FFTs fail. No single stress test validates every scenario.
2. Degradation Over Time
Silicon characteristics change as processors age. A voltage that's stable on day one may not be stable a year later. This is called electromigration and it's accelerated by heat — ironically, the very thing undervolting is trying to reduce. The practical implication:
- An undervolt that works perfectly for months can start causing random issues
- You may need to re-validate your settings periodically or add a small voltage margin
- Maintaining a "right at the edge" undervolt requires ongoing attention
3. Workload-Dependent Stability
Different workloads stress different parts of the processor:
- Gaming: Moderate CPU load, bursty GPU load — moderate voltage demands
- Video rendering: Sustained all-core CPU load — demands the most stable voltage
- Machine learning: Heavy AVX-512 or tensor operations — can demand more voltage than standard workloads
- Cold boot: Components need slightly more voltage at room temperature than when warmed up. An undervolt that's stable after 10 minutes of gaming may crash at a cold start.
4. Warranty Considerations
Technically:
- Intel and AMD don't void warranties for undervolting (only overvolting). But proving a failure wasn't caused by voltage manipulation can be complicated.
- NVIDIA and AMD GPUs — similar gray area. Undervolting through official tools (AMD Adrenalin) is arguably sanctioned. Using third-party tools is less clear.
- Laptops — manufacturer positions vary. Some explicitly allow it (Framework), others actively block it (many HP and Acer models).
5. Not All Silicon Is Equal
The "silicon lottery" is real. Two identical CPUs from the same batch can have very different voltage tolerances:
- One i7-14700K might be stable at -120mV, while another crashes at -60mV
- Your friend's "just set -100mV, it works great" advice might brick your system
- Never blindly copy someone else's undervolt settings — always test your own chip
Is It Actually Worth It?
Here's our honest assessment:
Strongly Worth It ✓
- GPU undervolting on desktop — This is the single highest-impact, lowest-risk thermal optimization you can do. GPUs respond dramatically to undervolting, the tools are user-friendly, and the worst case is a driver crash and reset. Every desktop GPU owner should at least try it.
- Laptops that run at thermal limits — If your laptop is throttling (sustained temps at 95°C+), undervolting can turn it from barely usable to genuinely functional. The performance gain from preventing throttling often exceeds what the undervolt costs in stability margin.
- Small form factor (SFF) builds — When your cooling is constrained by case size, undervolting is one of the few ways to reduce heat without changing hardware.
Moderately Worth It ~
- Intel desktop CPUs with good cooling — If you're already at acceptable temps (below 85°C under load), the benefit is lower noise and a bit more thermal headroom. Nice but not transformative.
- AMD Ryzen desktop CPUs — PBO already manages voltage well. You'll get marginal gains from Curve Optimizer, but the process is fiddly and the benefit is smaller than on Intel.
Probably Not Worth the Effort ✗
- Systems with adequate cooling and acceptable temps — If your temps are already healthy, undervolting adds complexity and a stability risk for little practical benefit. Your time is better spent on case airflow or fan curve optimization.
- Locked laptops — If your laptop OEM has locked undervolting, don't fight it with sketchy BIOS mods. The risk of bricking your laptop outweighs the potential thermal improvement.
- Competitive/professional workloads — If you're in a competitive gaming tournament or running a production render farm, the risk of subtle instability outweighs the thermal benefit. Use maximum stability settings instead.
Quick-Start Checklist
Ready to try undervolting? Here's the practical game plan:
- Baseline first — Run a stress test and record your stock temperatures and clock speeds. Use our stress test tool to get comparable data.
- Start conservative — Begin with a small undervolt (CPU: -30mV offset; GPU: -50mV from stock V/F curve)
- Stress test properly — Run at least 30 minutes of a heavy stress test. Better yet, run multiple different tests.
- Test real workloads — After stress testing, use the system normally for a few days before calling it stable
- Keep a margin — Whatever your lowest stable voltage is, add back 10–20mV as a safety margin for cold boots and component aging
- Document your settings — Write down your exact values so you can re-apply after a BIOS update or driver reinstall
- Monitor over time — Check temperatures monthly. If you start seeing random crashes after a few months, back off the undervolt slightly
The Bottom Line
Undervolting is a genuinely effective thermal optimization — possibly the most effective one that doesn't require spending money on new hardware. GPU undervolting especially is a near-universal win, offering 8–15°C temperature drops with virtually no real-world performance impact.
But calling it "no downsides" is overselling it. There are risks: subtle instability, silicon lottery variability, workload-dependent failures, and the need for ongoing maintenance. The key is approaching it methodically rather than blindly copying settings from a YouTube video.
For most enthusiasts, the trade-off is absolutely worth it — especially for GPUs and thermally constrained laptops. For systems that are already running cool and stable, it's a nice-to-have rather than a must-do.
Whatever your approach, make sure to measure and compare your results. Run ThermalStats before and after undervolting to see exactly how your thermals stack up against other users with the same hardware. That's the only way to know if your undervolt is actually making a real difference.
Be the First to Know
We're launching the ThermalStats newsletter soon — thermal tips, cooling guides, and data insights straight to your inbox. Sign up now to be first in line.
No spam, ever. Unsubscribe anytime.